
Bacterial transformation involves several key steps to introduce foreign DNA into bacterial cells. You'll start by preparing competent cells and selecting an appropriate plasmid. Next, you'll use either the heat shock method or electroporation to create temporary pores in the cell membrane, allowing DNA entry. After a recovery period, you'll plate the cells on selective media and incubate them to form colonies. Screening techniques help identify successful transformants, followed by plasmid isolation and verification. Finally, you'll express the transformed gene in the bacterial host. Understanding each step's nuances can greatly improve your transformation efficiency and experimental outcomes.
Preparing Competent Cells
Preparing competent cells is a vital first step in bacterial transformation. You'll need to create an environment where bacterial cells can easily take up foreign DNA. To begin, you'll grow your chosen bacterial strain, typically E. coli, in nutrient-rich media until it reaches the logarithmic growth phase.
Next, you'll harvest the cells by centrifugation and resuspend them in a cold, calcium chloride solution. This treatment makes the cell membrane more permeable to DNA. You'll incubate the cells on ice for about 30 minutes, allowing the calcium ions to weaken the cell wall and create tiny pores.
After the initial incubation, you'll centrifuge the cells again and resuspend them in a smaller volume of calcium chloride solution. This concentration step increases the efficiency of transformation. You'll then add glycerol to the cell suspension, which acts as a cryoprotectant, allowing you to store the competent cells at -80°C for future use.
Maintaining sterile conditions throughout the process is vital to avoid contamination. You'll also need to work quickly and keep the cells cold to preserve their competence. Remember, different bacterial strains may require slight modifications to this protocol.
Once you've prepared your competent cells, you can proceed with the transformation process by introducing plasmid DNA or other genetic material. The success of your transformation largely depends on the quality of your competent cells, so it's important to follow the preparation steps carefully and precisely.
Choosing Appropriate Plasmid DNA
Choosing the right plasmid DNA is vital for successful bacterial transformation. You'll need to take into account several factors when selecting your plasmid, including the size, antibiotic resistance markers, origin of replication, and the specific genes you want to introduce into your bacteria.
First, reflect on the size of your plasmid. Smaller plasmids (2-10 kb) are generally easier to transform than larger ones. If you're working with a large insert, you might need to use a specialized vector designed for larger DNA fragments.
Next, pay attention to the antibiotic resistance markers on the plasmid. These allow you to select for transformed bacteria. Choose a plasmid with a resistance gene that's compatible with your host strain and doesn't interfere with your experiment.
The origin of replication is important as it determines the plasmid's copy number in the cell. High-copy plasmids are useful for protein expression, while low-copy plasmids are better for toxic genes or large inserts.
Ensure your plasmid has appropriate promoters and regulatory elements for your gene of interest. If you're expressing a protein, check that the plasmid has the necessary elements for efficient transcription and translation in your chosen bacterial strain.
Think about whether you need any additional features, such as affinity tags for protein purification or inducible promoters for controlled gene expression.
Lastly, verify the plasmid's sequence and integrity before use. Confirm that it contains the correct insert and hasn't undergone any unwanted mutations or rearrangements. By carefully selecting your plasmid DNA, you'll greatly enhance your chances of a successful bacterial transformation.
Heat Shock Method
The heat shock method is a common technique for introducing plasmid DNA into bacterial cells. You'll need to follow several steps to successfully transform your bacteria using this approach.
First, prepare competent cells by treating them with calcium chloride, which makes their cell membranes more permeable. Next, mix your plasmid DNA with the competent cells in a microcentrifuge tube and incubate the mixture on ice for about 30 minutes. This allows the DNA to attach to the cell surface.
After incubation, you'll subject the cells to a brief heat shock by placing the tube in a water bath at 42°C for 30-45 seconds. This sudden temperature change creates pores in the cell membrane, allowing the plasmid DNA to enter the cells. Immediately following the heat shock, return the tube to ice for 2-5 minutes to close the pores and prevent cell damage.
Add room temperature nutrient broth to the tube and incubate the cells at 37°C for 45-60 minutes. This recovery period allows the bacteria to repair their cell membranes and begin expressing the antibiotic resistance genes present on the plasmid.
Finally, plate the transformed cells onto selective media containing the appropriate antibiotic. Only bacteria that have successfully taken up the plasmid will grow, as they've acquired antibiotic resistance.
Remember to include positive and negative controls in your experiment. The positive control should contain cells transformed with a known successful plasmid, while the negative control should have cells that underwent the process without any DNA added.
Electroporation Technique
While heat shock is a widely used method, electroporation offers an alternative approach to bacterial transformation. This technique uses short electrical pulses to create temporary pores in the bacterial cell membrane, allowing DNA to enter the cell. Electroporation is often more efficient than heat shock, especially for larger plasmids or difficult-to-transform bacterial strains.
To perform electroporation, you'll first need to prepare electrocompetent cells. Grow your bacteria in nutrient-rich media, then wash them repeatedly with ice-cold water or glycerol to remove ions. This step is vital, as ions can cause arcing during the electrical pulse. Next, mix your prepared cells with the DNA you want to introduce.
Transfer the mixture to a chilled electroporation cuvette, which has electrodes on opposite sides. Place the cuvette in an electroporator and apply a brief, high-voltage pulse. This pulse creates temporary pores in the cell membrane, allowing DNA to enter. Immediately after the pulse, add room-temperature recovery media to the cuvette.
Transfer the cells to a tube and incubate them at an appropriate temperature for your bacterial strain, typically 37°C for E. coli. This recovery period allows the cells to repair their membranes and begin expressing any antibiotic resistance genes present on the introduced DNA.
Recovery Period
After the shock of transformation, bacteria need time to recuperate and express new genes. This vital phase is called the recovery period. During this time, you'll allow the cells to repair their cell membranes and begin producing the proteins encoded by the newly introduced DNA.
Immediately after transformation, you'll transfer the bacteria to a nutrient-rich medium. This medium, often SOC (Super Optimal broth with Catabolite repression), provides the necessary resources for cellular repair and growth. You'll incubate the culture at an ideal temperature, typically 37°C for most bacteria, for about 30-60 minutes.
During recovery, don't add antibiotics to the medium, even if your plasmid contains antibiotic resistance genes. The cells need time to express these genes before they can withstand antibiotic selection. This antibiotic-free period allows all transformed cells to survive and begin replication.
The length of the recovery period can vary depending on the bacterial strain and the transformation method used. Electroporation, for instance, may require longer recovery times due to the more severe cellular damage caused by the electric shock.
After recovery, you'll plate the bacteria on selective media containing antibiotics. Only cells that have successfully taken up and expressed the plasmid will grow, forming colonies. It's important to plate different volumes of the recovered culture to guarantee you get well-separated colonies for further analysis.
Plating on Selective Media
Plating on selective media is an essential step in bacterial transformation that allows you to isolate successfully transformed cells. After the recovery period, you'll need to spread your transformed bacteria onto agar plates containing selective antibiotics. These antibiotics will kill any cells that haven't taken up the plasmid with the antibiotic resistance gene, guaranteeing only transformed bacteria grow.
To plate your cells, you'll first need to prepare your selective media plates. Validate they're at room temperature and free from condensation. You'll typically use a sterile spreader or glass beads to distribute your bacterial suspension evenly across the plate's surface. It's important to work near a flame or in a laminar flow hood to maintain sterility.
You'll want to plate different volumes of your transformation mixture, usually ranging from 50 to 200 microliters. This helps confirm you'll get well-separated colonies for further analysis. Remember to label your plates clearly with the date, strain, and volume plated.
After plating, invert the plates and incubate them at the appropriate temperature for your bacterial species, typically 37°C for E. coli. You'll need to wait 12-16 hours for visible colonies to form. During this time, only the transformed bacteria containing the plasmid with antibiotic resistance will survive and form colonies.
Once colonies appear, you can count them to calculate transformation efficiency. You'll also be able to select individual colonies for further analysis or to grow larger cultures of your transformed bacteria. This step completes the transformation process, providing you with isolated, transformed bacterial cells for your subsequent experiments.
Incubation and Colony Formation
The incubation period following plating is essential for successful bacterial transformation. After you've spread the transformed bacteria onto selective media, you'll need to incubate the plates to allow colony formation. Typically, you'll place the plates in an incubator set to the ideal growth temperature for your bacterial strain, usually around 37°C for most E. coli strains.
During incubation, only the successfully transformed bacteria will grow and form colonies on the selective media. This process usually takes 12-16 hours, but it can vary depending on the specific bacterial strain and plasmid used. It's important to incubate the plates upside down to prevent condensation from dripping onto the agar surface, which could interfere with colony formation.
As the bacteria multiply, they'll form visible colonies on the plate. Each colony represents a population of genetically identical bacteria, all descended from a single transformed cell. The number of colonies you observe will give you an indication of your transformation efficiency.
After the incubation period, you'll need to examine your plates for colony growth. You're looking for well-isolated, round colonies that are uniform in size and shape. The presence of these colonies indicates successful transformation and expression of the antibiotic resistance gene carried on the plasmid.
If you've included controls in your experiment, such as plates with untransformed bacteria or bacteria transformed with a control plasmid, you should compare these to your experimental plates. This comparison will help you confirm that the observed colonies are indeed the result of successful transformation with your plasmid of interest.
Screening for Successful Transformants
Once colonies have formed on your plates, it's time to screen for successful transformants. This vital step allows you to identify which bacteria have taken up the plasmid containing your gene of interest. The screening method you'll use depends on the selectable marker present in your plasmid.
If you're using antibiotic resistance as a marker, you've already eliminated non-transformed bacteria during the incubation step. However, you'll still need to confirm the presence of your specific gene. You can do this through colony PCR, where you'll pick individual colonies and amplify the gene of interest. Alternatively, you might perform a restriction digest on plasmid DNA extracted from selected colonies.
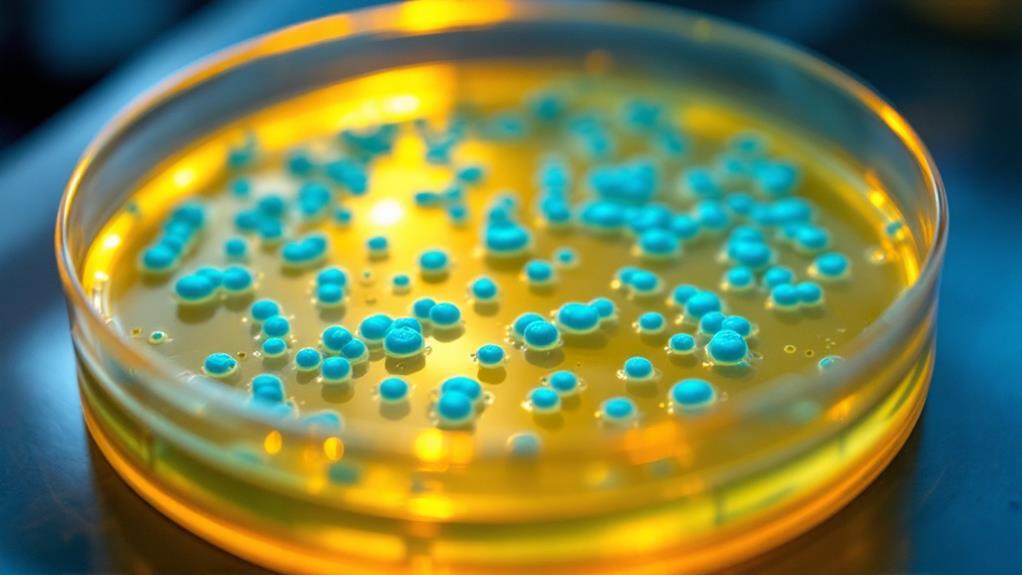
For visual screening, you might use a plasmid containing a reporter gene like GFP (Green Fluorescent Protein). In this case, you'll look for glowing colonies under UV light. If you're using the lac operon system, you'll add X-gal to your plates and look for blue colonies, indicating successful transformation.
Sometimes, you'll need to screen for a specific phenotype related to your gene of interest. This might involve transferring colonies to different media or exposing them to certain conditions to observe their behavior.
Plasmid Isolation and Verification
After identifying potential transformants, you'll need to isolate and verify the plasmid DNA. This process guarantees that the bacteria have successfully incorporated the desired plasmid and that it's functioning as intended.
To isolate the plasmid, you'll perform a miniprep procedure. Start by growing your transformed bacteria in a small culture overnight. Then, harvest the cells by centrifugation and resuspend them in a buffer solution. Add a lysis buffer to break open the bacterial cells and release their contents. Neutralize the mixture and centrifuge again to separate the plasmid DNA from cellular debris.
Next, you'll purify the plasmid DNA using either a silica column or alcohol precipitation method. The purified plasmid is then ready for verification.
To verify the plasmid, you'll use several techniques. First, perform a restriction digest using specific enzymes that cut the plasmid at known sites. Analyze the resulting fragments using gel electrophoresis to confirm the expected band pattern.
You can also use PCR to amplify specific regions of the plasmid, confirming the presence of your gene of interest. For a more thorough analysis, consider DNA sequencing to verify the entire plasmid sequence.
Expressing the Transformed Gene
Successful transformation is just the beginning. Once you've introduced the foreign DNA into your bacterial cells, you'll need to focus on expressing the transformed gene. This process involves creating the protein encoded by the new gene, which is vital for observing the desired phenotype or studying the gene's function.
To express the transformed gene, you'll first need to guarantee that the bacteria are grown in conditions that promote gene expression. This often means using selective media containing antibiotics that correspond to the resistance gene on your plasmid. You'll also need to take into account any specific inducers or repressors that might be necessary for gene activation.
As the bacteria grow and divide, they'll begin to produce the protein encoded by your gene of interest. You can monitor this process using various techniques. For example, if your gene produces a fluorescent protein, you might observe the colonies under UV light. Alternatively, you can use Western blotting or ELISA to detect and quantify the protein of interest.
It's important to optimize growth conditions for maximum gene expression. This may involve adjusting temperature, pH, or nutrient composition. You should also take into account the timing of your experiments, as some proteins may be expressed more strongly during certain growth phases.

Erzsebet Frey (Eli Frey) is an ecologist and online entrepreneur with a Master of Science in Ecology from the University of Belgrade. Originally from Serbia, she has lived in Sri Lanka since 2017. Eli has worked internationally in countries like Oman, Brazil, Germany, and Sri Lanka. In 2018, she expanded into SEO and blogging, completing courses from UC Davis and Edinburgh. Eli has founded multiple websites focused on biology, ecology, environmental science, sustainable and simple living, and outdoor activities. She enjoys creating nature and simple living videos on YouTube and participates in speleology, diving, and hiking.