
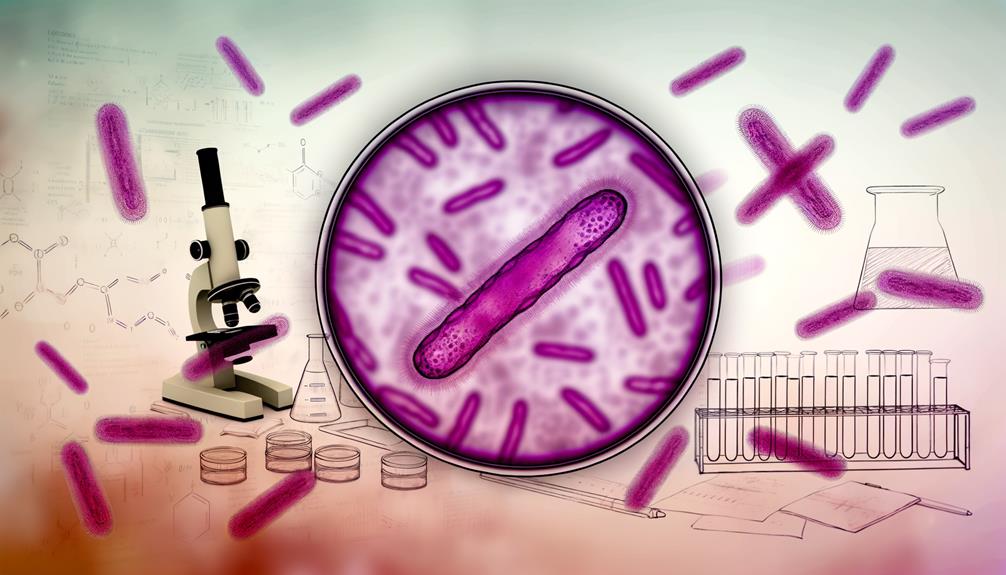
You're about to master the Gram staining technique, a fundamental laboratory skill in microbiology and medicine. Gram staining distinguishes between Gram-positive and Gram-negative bacteria by exploiting the difference in their cell walls. You'll prepare bacterial smears, fix and dehydrate samples, and apply crystal violet and safranin solutions. Then, you'll examine the stained samples under a microscope to identify bacteria. With precise steps and attention to detail, you'll uncover the secrets of Gram staining. As you proceed, you'll uncover the intricacies of this essential technique, and soon you'll be interpreting results like a pro.
Understanding Gram Staining Principles
When you perform a Gram stain, you're exploiting the fundamental difference in the composition of bacterial cell walls to distinguish between Gram-positive and Gram-negative bacteria.
This difference lies in the peptidoglycan layer, which is thicker in Gram-positive bacteria and thinner in Gram-negative bacteria.
The Gram stain procedure takes advantage of this difference, using a series of dyes to selectively bind to these cell walls.
You'll start by applying a primary stain, crystal violet, which binds to the thick peptidoglycan layer of Gram-positive bacteria.
Next, you'll add an iodine solution, which forms a complex with the crystal violet, further enhancing the binding.
After rinsing, you'll apply a decolorizer, which removes excess dye from the Gram-negative bacteria, but not from Gram-positive bacteria.
Finally, you'll apply a counterstain, safranin, which binds to the Gram-negative bacteria.
The resulting colors will reveal the Gram reaction: purple for Gram-positive and pink for Gram-negative bacteria.
Preparing for the Staining Process
You'll need to gather the necessary materials and prepare your bacterial smears before proceeding with the Gram staining process. This step is vital, as it guarantees that your samples are properly prepared for the staining reaction.
Start by selecting a clean glass slide and carefully placing a small drop of bacterial suspension onto it. Use a sterile loop or swab to spread the suspension evenly, creating a thin, uniform layer.
Allow the smear to air-dry completely, which may take around 15-30 minutes, depending on the ambient temperature and humidity.
Once the smear is dry, you'll need to fix it by passing the slide over a flame or by using a fixative. This step is imperative, as it helps preserve the bacterial morphology and prevents the cells from detaching during the staining process.
After fixing, let the slide cool before proceeding to the staining process. It's vital to handle the slides carefully to prevent contamination and guarantee accurate results.
Reagents and Equipment Needed
To facilitate the Gram staining process, gather the necessary reagents and equipment, including crystal violet, Gram's iodine, ethanol, safranin, and xylene or other clearing agents, as well as a microscope, slides, and a staining tray.
These reagents are essential for achieving accurate results, as they help to differentiate bacteria into Gram-positive and Gram-negative categories. Make sure to handle these chemicals carefully, following proper laboratory safety protocols.
You'll also need a microscope to examine the stained samples. A compound light microscope with an oil immersion lens is ideal for this purpose.
Additionally, prepare slides and a staining tray to hold your samples during the staining process. Verify that all equipment is clean and sterile to prevent contamination.
Fixing and Dehydrating Samples
Fixing and dehydrating the sample is a vital step in the Gram staining process, as it helps preserve the bacterial morphology and prepares the sample for staining.
You'll need to fix the sample to prevent autolysis, a process where the bacterial cells break down and release their contents. To do this, you'll immerse the sample in a fixative, such as methanol or formalin, for a specified duration. This will help preserve the bacterial morphology and prevent any changes to the cell's structure.
After fixing, you'll need to dehydrate the sample to remove excess moisture. This is essential, as water can interfere with the staining process.
You'll use a series of ethanol solutions with increasing concentrations to gradually remove water from the sample. Start with a 50% ethanol solution, followed by 70%, 90%, and finally 100% ethanol. Each step should last for a specified duration to guarantee complete dehydration.
Applying Crystal Violet Solution
The Gram staining process proceeds with the application of crystal violet solution, which is a vital step that helps distinguish between Gram-positive and Gram-negative bacteria. You'll need to carefully pour the crystal violet solution over the fixed and dehydrated sample, making sure to cover the entire surface. It's vital to use a sufficient amount of solution to facilitate even staining.
Allow the crystal violet solution to sit on the sample for about 1 minute. This will give the dye enough time to penetrate the bacterial cell walls and bind to the peptidoglycan layer. You may notice the sample starting to take on a deep purple color, which is a sign that the staining process is working.
During this step, it's vital to maintain a clean and sterile environment to prevent contamination. Make sure your workspace is free from any external sources of bacteria, and use sterile equipment to handle the sample. By following these guidelines, you'll be able to achieve ideal staining results and accurately identify the type of bacteria present in your sample.
Adding Iodine Solution and Waiting
After allowing the crystal violet solution to sit for one minute, you'll add iodine solution to the sample, which helps to complex with the crystal violet and further enhance the staining process.
This step is vital in distinguishing between Gram-positive and Gram-negative bacteria. The iodine solution, also known as Lugol's iodine, contains potassium iodide and iodine.
When you add it to the sample, it reacts with the crystal violet to form a complex that will eventually bind to the peptidoglycan layer in the bacterial cell wall. This complex will ultimately influence how the bacteria react to the subsequent decolorization step.
You'll need to let the iodine solution sit for about one minute, allowing the complex to form.
During this time, make sure the slide is tilted gently to confirm the solution covers the entire sample.
After the minute is up, you'll be ready to move on to the next step in the Gram staining process.
Remember to handle the iodine solution with care, as it can cause skin and eye irritation. Wear gloves and work in a well-ventilated area to minimize exposure.
Decolorizing With Ethanol Solution
Decolorization is a critical step in the Gram staining process. You'll decolorize the sample by adding an ethanol solution, which rapidly removes excess crystal violet-iodine complex from the Gram-negative bacteria, but not from the Gram-positive bacteria, allowing for differentiation between the two.
When adding the ethanol solution, make sure to use a sufficient amount to effectively decolorize the sample. The solution should be added slowly and gently to prevent disrupting the bacterial cells. You'll know the decolorization process is complete when the ethanol solution stops changing color, indicating that the excess crystal violet-iodine complex has been removed.
After decolorizing the sample, you'll be left with a slide that's ready for the next step in the Gram staining process. Carefully monitor the decolorization process to verify that the Gram-positive bacteria retain their purple color, while the Gram-negative bacteria are effectively decolorized.
Counterstaining With Safranin
Add a few drops of safranin, a counterstain, to the slide, allowing it to bind to the Gram-negative bacteria and create a notable contrast with the Gram-positive bacteria.
This step is vital in distinguishing between the two types of bacteria. Safranin, a positively charged dye, has a high affinity for the negatively charged lipopolysaccharides present in the outer membrane of Gram-negative bacteria.
As you add the counterstain, gently rock the slide back and forth to facilitate even distribution.
Allow the safranin to bind for about 1-2 minutes. You'll start to notice the Gram-negative bacteria taking on a pinkish-red hue, while the Gram-positive bacteria will remain purple.
This color contrast is essential for accurate identification and differentiation of bacteria.
After the allotted time, gently rinse the slide with distilled water to remove any excess safranin. This will help prevent over-staining and promote a clear, high-contrast image.
With the counterstain in place, you're one step closer to visualizing and identifying the bacteria on your slide.
Mounting and Examining Slides
To mount the slides, apply a small amount of mounting medium to the slide, then carefully place a coverslip on top. Make sure to remove any air bubbles by gently pressing on the coverslip with a lint-free wipe or a clean glass slide.
Once the slides are mounted, examine them under a microscope using the oil immersion objective lens (100x). Start by focusing on the slide using the coarse adjustment knob, then switch to the fine adjustment knob to achieve a clear, high-contrast image.
Adjust the microscope's lighting to optimize the image quality.
As you examine the slide, pay attention to the morphology and arrangement of the bacteria. Note the shape, size, and staining characteristics of the microorganisms. Take note of any clumping, chaining, or other notable features.
Interpreting Gram Stain Results
As you examine the Gram-stained slide, distinguishable differences in bacterial morphology and staining characteristics will emerge, guiding your identification of Gram-positive and Gram-negative microorganisms.
You'll notice that Gram-positive bacteria retain the crystal violet stain, appearing purple or blue, while Gram-negative bacteria lose the stain and take on a pinkish-red hue from the counterstain.
Observe the shape, size, and arrangement of bacterial cells, as these characteristics can aid in identification. Note the presence of capsules, flagella, or other structural features that may be visible.
When examining the slide, pay attention to the intensity and uniformity of staining. Gram-positive bacteria typically exhibit uniform, intense staining, while Gram-negative bacteria may display weaker, more variable staining.
Be aware of any contaminants or artifacts that may affect your interpretation. By carefully evaluating these characteristics, you'll be able to accurately classify microorganisms as Gram-positive or Gram-negative, a vital step in further identification and diagnosis.
Common Errors and Troubleshooting
When interpreting Gram stain results, you may encounter inconsistencies or unexpected outcomes, which can often be attributed to common errors in the staining process or slide preparation.
One common mistake is inadequate fixation, leading to poor stain retention or uneven staining. Verify that your samples are properly fixed before staining to avoid this issue.
Another error is incorrect staining times or temperatures, which can affect the accuracy of your results. Double-check the staining protocol to confirm you're following the recommended times and temperatures.
Additionally, contamination or improper cleaning of slides can lead to inconsistent results. Make sure to clean and prepare your slides properly before staining.
Troubleshooting these issues can be straightforward. Start by re-examining your staining protocol and slide preparation techniques.
Check for any deviations from the recommended procedures and make adjustments as needed. If you're still experiencing issues, consider consulting with a more experienced technician or re-running the stain with fresh reagents.

Erzsebet Frey (Eli Frey) is an ecologist and online entrepreneur with a Master of Science in Ecology from the University of Belgrade. Originally from Serbia, she has lived in Sri Lanka since 2017. Eli has worked internationally in countries like Oman, Brazil, Germany, and Sri Lanka. In 2018, she expanded into SEO and blogging, completing courses from UC Davis and Edinburgh. Eli has founded multiple websites focused on biology, ecology, environmental science, sustainable and simple living, and outdoor activities. She enjoys creating nature and simple living videos on YouTube and participates in speleology, diving, and hiking.